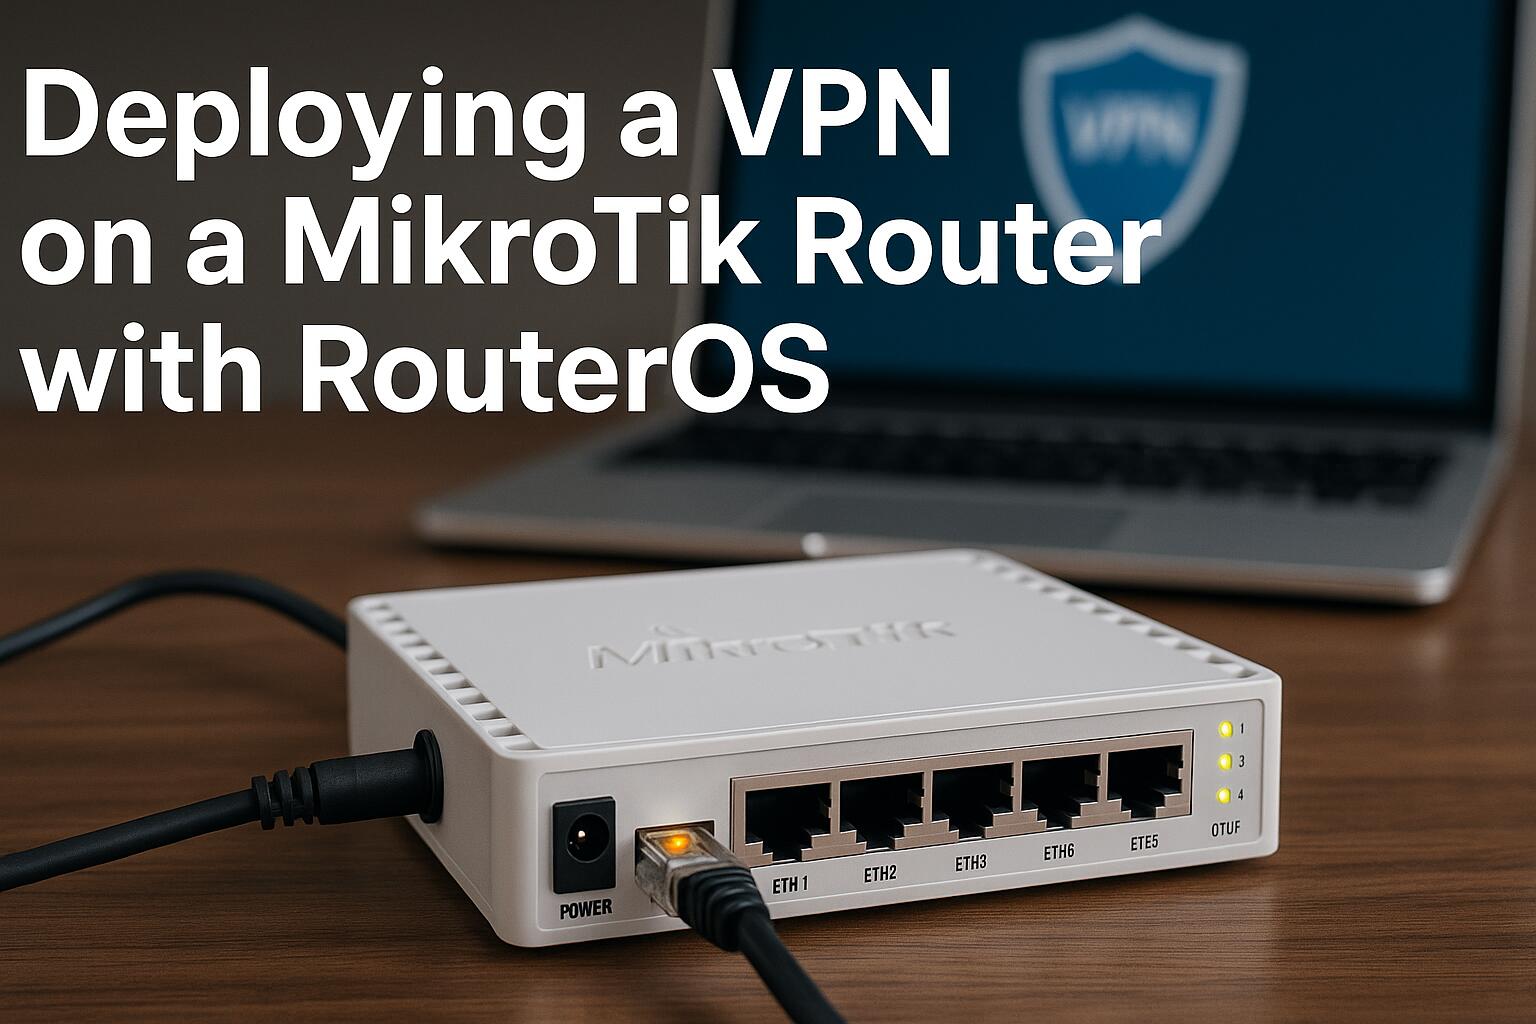
MikroTik’s RouterOS is a robust and flexible operating system used to manage routers, and one of its standout features is its support for VPN protocols. Deploying a VPN on a MikroTik router enables secure communication for remote users and branch offices. In this guide, we will walk through the technical process of setting up a VPN server using MikroTik RouterOS, covering the configuration of protocols like PPTP, L2TP, and IPsec.
Prerequisites
Before deploying the VPN, ensure that the following prerequisites are met:
- A MikroTik router with RouterOS version 6.x or higher
- Access to the router’s web interface or Winbox
- Basic knowledge of networking and RouterOS
- Public IP address for the VPN server (optional, but recommended for remote access)
Step 1: Configuring IP Addresses and Routing
First, you must assign IP addresses to the interfaces on your MikroTik router. This ensures proper routing of traffic between the internal network and the VPN.
1. Access the router via Winbox or the web interface.
2. Set up the internal network interface with an appropriate static IP address.
3. Configure the external interface (WAN) with the public IP address or leave it in DHCP mode, if applicable.
4. Ensure that IP routing is enabled, and configure routes to route traffic properly between your networks.
Step 2: Enabling and Configuring VPN Services
MikroTik supports several VPN protocols. In this section, we will configure PPTP, L2TP, and IPsec for secure remote access.
PPTP Configuration
PPTP is one of the simplest VPN solutions. To set it up:
1. Go to **PPP** in the RouterOS menu.
2. Under the **PPTP Server** tab, click on **Enable** to activate the PPTP server.
3. Configure authentication and encryption settings.
4. Create a PPP profile and set up an IP pool for VPN clients.
5. Add a new **PPTP Server Binding** for each user and configure the appropriate settings (username, password, and profile).
L2TP Configuration
L2TP is a more secure and stable VPN option, often used in conjunction with IPsec for enhanced security.
1. Go to **PPP** > **L2TP Server**.
2. Enable the **L2TP Server** and configure the required settings.
3. Add an L2TP user profile, set IP address assignments, and configure routing.
4. Set up IPsec policies for encryption.
IPsec Configuration
For IPsec, you need to set up security policies and encryption settings for the VPN tunnel.
1. Go to **IP** > **IPsec**.
2. Add new **Proposals** for encryption settings such as AES-256.
3. Under **Peers**, configure the remote IP and pre-shared keys.
4. Create **Policies** for traffic matching rules (e.g., specifying what traffic will be encrypted).
Step 3: Firewall Configuration
To ensure that your VPN connections are secure and functional, the firewall needs to be configured to allow necessary traffic.
1. Go to **IP** > **Firewall** > **Filter Rules**.
2. Create rules to allow VPN traffic on ports such as TCP 1723 for PPTP or UDP 500 and 4500 for IPsec.
3. Ensure that you apply NAT (Network Address Translation) rules to properly route VPN traffic.
Step 4: Testing and Troubleshooting
After the VPN configuration is complete, testing is essential. The following steps should be taken:
1. From a client device, attempt to connect to the VPN using the appropriate VPN client (PPTP, L2TP, or IPsec).
2. Verify that the IP address is assigned correctly, and you can reach the internal network.
3. Use the **Log** feature in MikroTik RouterOS to view any connection issues or errors. This will provide you with insights into potential configuration issues.
4. Troubleshoot based on log messages, focusing on authentication issues, IP address conflicts, and firewall misconfigurations.
Advanced Configuration Options
For users who need more robust VPN setups, MikroTik also supports advanced configurations such as:
- Split tunneling for selecting which traffic routes through the VPN
- Creating a certificate-based VPN for higher security
- Dynamic DNS to handle changing IP addresses for remote users
- Bridge mode for VPN clients to be part of the local network
These features allow fine-tuned control over VPN security, access, and performance.
Conclusion
The process of deploying a VPN on MikroTik RouterOS is straightforward but requires careful attention to detail. By following the steps outlined, including configuring VPN protocols, firewall rules, and routing, you can deploy a secure and efficient VPN server for remote access. Advanced users can enhance security and flexibility by configuring split tunneling, dynamic DNS, and certificate-based VPNs. With RouterOS’s capabilities, a wide range of VPN solutions is at your disposal for secure communications.
We earn commissions using affiliate links.


![7 Best VPN for Mikrotik Routers [year]: Fast & Secure Network Best VPN for Mikrotik](https://www.privateproxyguide.com/wp-content/uploads/2021/12/Best-VPN-for-Mikrotik-150x150.jpg)


![Best VPN Router for Small Businesses [year]: Secure Networking Best VPN routers for small businesses](https://www.privateproxyguide.com/wp-content/uploads/2021/10/Best-routers-for-small-businesses-150x150.jpg)