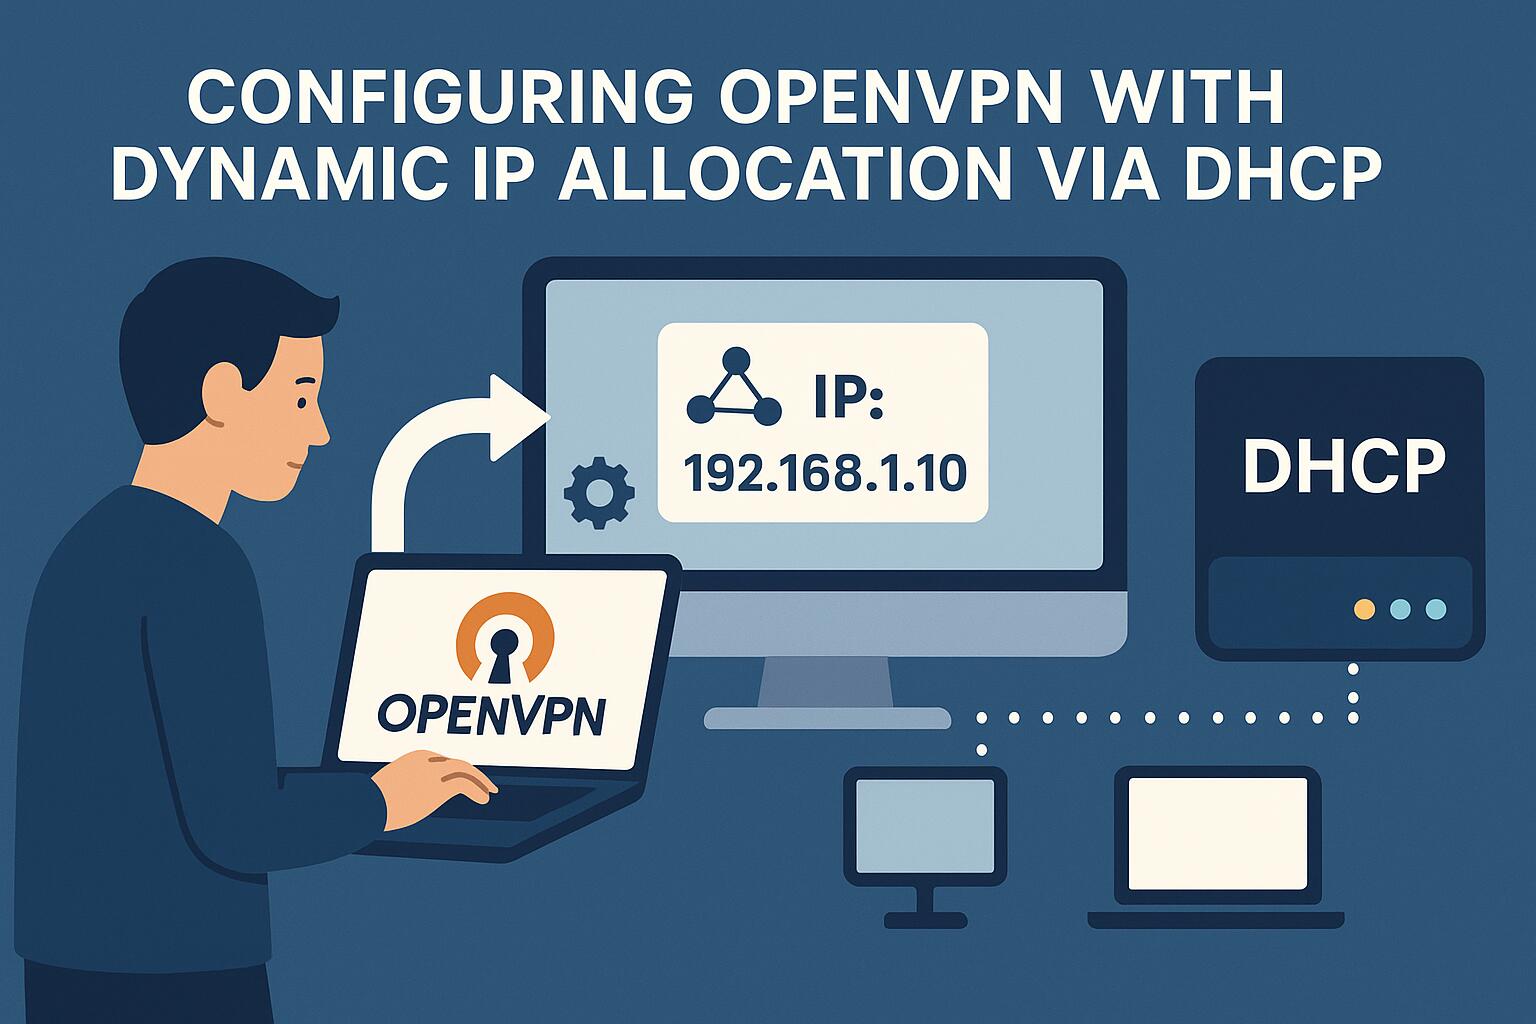
OpenVPN is an open-source VPN software that allows for secure point-to-point or site-to-site connections. One of the common challenges when configuring OpenVPN is handling dynamic IP addresses, especially in environments where IP addresses are allocated dynamically, such as with DHCP. This setup can simplify network management and ensure clients are allocated IP addresses as they connect, without the need for static IP assignments.
Prerequisites for Configuring OpenVPN with Dynamic IP Allocation
Before proceeding with the configuration, ensure you have the following:
An OpenVPN server set up on a machine.
A DHCP server running within the same network, typically on your router or a dedicated server.
Access to the OpenVPN configuration files and the ability to edit them.
A basic understanding of Linux networking and DHCP.
Step-by-Step Configuration
1. Setting Up DHCP Server
The first step is to ensure that your DHCP server is properly configured to allocate IP addresses dynamically. Most routers come with a built-in DHCP service, but if you’re using a Linux server as your DHCP provider, you can use isc-dhcp-server. Here is an example of a basic DHCP configuration:
# /etc/dhcp/dhcpd.conf
subnet 192.168.1.0 netmask 255.255.255.0 {
range 192.168.1.100 192.168.1.200;
option routers 192.168.1.1;
option domain-name-servers 8.8.8.8, 8.8.4.4;
}
In this example, the DHCP server is configured to allocate IP addresses in the range 192.168.1.100 to 192.168.1.200. You will need to ensure that the OpenVPN server is within this subnet or that its IP allocation fits within this range.
2. Configuring OpenVPN Server
Next, you’ll need to configure the OpenVPN server to request IP addresses from the DHCP server. This is done by modifying the OpenVPN server configuration file.
Open the OpenVPN server configuration file (/etc/openvpn/server.conf) and make the following changes:
# Enable DHCP-based IP allocation
server 192.168.1.0 255.255.255.0
# Set up a DHCP configuration script
client-config-dir /etc/openvpn/ccd
# Push the DNS servers to clients
push “dhcp-option DNS 8.8.8.8”
push “dhcp-option DNS 8.8.4.4”
Here, the server directive defines the OpenVPN subnet, and the client-config-dir directive specifies the directory where client-specific configurations will be stored. The push directives tell OpenVPN to push DNS settings to connected clients.
3. Creating Client Configuration Directory (CCD)
The client configuration directory (ccd) is used to store specific configurations for each OpenVPN client. This can include static IP assignments or specific DHCP-related options.
For dynamic IP allocation via DHCP, you don’t need to assign static IPs to each client. However, you can specify other configuration options if necessary. Below is an example of a client configuration file (/etc/openvpn/ccd/client1):
# /etc/openvpn/ccd/client1
ifconfig-push 192.168.1.101 255.255.255.0
This file ensures that client1 always receives a specific IP address, but for DHCP, you can leave this out.
4. Configuring Client-Side Settings
On the client side, OpenVPN should be configured to accept dynamic IPs. The client configuration file (/etc/openvpn/client.conf) should include the following settings:
# Client-side configuration for dynamic IP allocation
client
dev tun
proto udp
remote vpnserver.example.com 1194
resolv-retry infinite
nobind
persist-key
persist-tun
user nobody
group nogroup
This basic client configuration ensures that the OpenVPN client connects to the server and automatically receives its IP via DHCP from the OpenVPN subnet.
5. Verifying DHCP IP Allocation
Once the configuration is complete, start or restart the OpenVPN server and client. You can verify that dynamic IP allocation is working by checking the OpenVPN server logs and the client’s IP address. On the server side, use the following command to view the client connections:
# View OpenVPN server log
tail -f /var/log/openvpn.log
You should see entries showing the client’s assigned dynamic IP address. On the client side, you can verify the assigned IP by checking the local network interface configuration:
# On the client machine
ifconfig
The client should now have an IP address within the OpenVPN subnet, dynamically assigned by the DHCP server.
6. Troubleshooting
If the dynamic IP allocation isn’t working as expected, consider the following troubleshooting steps:
Ensure that the DHCP server is functioning correctly and that the OpenVPN server is within the DHCP range.
Check the OpenVPN server and client logs for errors related to IP assignment or DHCP communication.
Ensure that no firewall rules are blocking DHCP traffic between the OpenVPN server and the DHCP server.
Verify the client-side configuration to ensure it’s set up to automatically accept dynamic IPs.

 Files for Dynamic Proxy Use")


