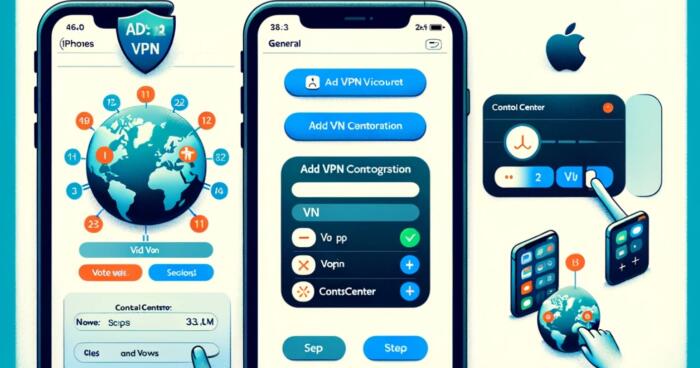
On an iPhone or iPad, adding a VPN to your Control Center can make it incredibly convenient to toggle your VPN connection on and off.
In this blog post, we’ll guide you through the steps to add a VPN to your device and then show you how to place it in the Control Center for easy access.
Step 1: Configure the VPN
Before you can add a VPN to your Control Center, you need to configure the VPN on your device. Here’s how:
- Open Settings: Start by opening the Settings app on your iPhone or iPad.
- Navigate to General: Scroll down and tap on “General”.
- Select VPN & Device Management: Look for and tap on “VPN & Device Management”.
- Add VPN Configuration: Tap “Add VPN Configuration…”.
- Enter VPN Details:
- Type: Choose the type of VPN (IKEv2, IPSec, or L2TP).
- Description: Enter a name for your VPN configuration.
- Server: Input the VPN server address.
- Remote ID and Local ID: Fill in these fields if required by your VPN provider.
- User Authentication: Enter your VPN username and password.
- Proxy: Configure proxy settings if needed.
- Save the Configuration: Once all details are filled out, tap “Done” to save your VPN configuration.
Step 2: Add the VPN Toggle to the Control Center
Now that your VPN is set up, you can add the VPN toggle to the Control Center. This will allow you to quickly enable or disable the VPN connection.
- Open Settings Again: Go back to the Settings app.
- Access Control Center Settings: Tap on “Control Center”.
- Customize Controls: Tap “Customize Controls”. Depending on your iOS version, this might be labeled as “More Controls” or something similar.
- Add VPN Control: Scroll through the list of controls and tap the green plus (+) button next to “VPN” to add it to the Control Center.
Step 3: Use the VPN Toggle from Control Center
With the VPN toggle now in your Control Center, you can easily manage your VPN connection.
- Open Control Center: On iPhone X and later models, swipe down from the upper-right corner of the screen. On iPhone 8 and earlier models, swipe up from the bottom edge of the screen.
- Toggle VPN: Find the VPN icon in the Control Center and tap it to turn your VPN connection on or off.
Conclusion
Adding a VPN to your iPhone or iPad’s Control Center is a straightforward process that greatly enhances the convenience of managing your online security. With just a few simple steps, you can configure your VPN and access it quickly whenever you need to ensure your internet activities remain private and secure.
By keeping your VPN just a swipe away, you make it easier to protect your data whether you’re at home, on public Wi-Fi, or traveling abroad. Stay secure, and enjoy the peace of mind that comes with enhanced digital privacy.
We earn commissions using affiliate links.


![10 Best Parental Control Apps for iPhone, iOS & Android [year] best parental monitoring apps for iphone](https://www.privateproxyguide.com/wp-content/uploads/2021/03/best-parental-monitoring-apps-for-iphone-150x150.jpg)


![Add or Change VPN-connection in Windows 11 How to Set Up a VPN Connection on Windows 11 [Full Guide]](https://www.privateproxyguide.com/wp-content/uploads/2024/03/How-to-Set-Up-a-VPN-Connection-on-Windows-11-Full-Guide-150x150.jpg)

![Best VPN for Sprint [year]: Secure Your Connection and Privacy Best VPN for Sprint-1](https://www.privateproxyguide.com/wp-content/uploads/2021/12/Best-VPN-for-Sprint-1-150x150.jpg)
![Best Antivirus with VPN [year] – Protect All Your Devices Best Antivirus With VPN](https://www.privateproxyguide.com/wp-content/uploads/2022/01/Best-Antivirus-With-VPN-150x150.jpg)
![Best VPN for Unraid [year]: Secure Remote Access for Your NAS Best VPN for Unraid](https://www.privateproxyguide.com/wp-content/uploads/2022/11/Best-VPN-for-Unraid-150x150.jpg)
![Best VPN Practices [year] Stay Secure and Protect Your Privacy Best VPN Practices](https://www.privateproxyguide.com/wp-content/uploads/2023/07/Best-VPN-Practices-150x150.jpg)
![Best VPN for TP-Link Router [year]: Secure Your Home Network Best VPN for TP-Link Router](https://www.privateproxyguide.com/wp-content/uploads/2023/10/Best-VPN-for-TP-Link-Router-150x150.jpg)