Connecting an external monitor to your computer or laptop is sometimes the only way to increase your productivity and improve multitasking. However, when connecting your external monitor, Windows can produce a well-known generic PnP monitor problem that many people find annoying.
Even worse is that many people don’t know how to fix generic PnP monitor problems on Windows 10 and 11, rendering the new monitor unusable. Today, we will try to help you fix this problem by giving you a few simple solutions that seem to work for the majority of users.
1. How to Fix Generic PnP Monitor Problem on Windows 10/11?
Without further ado, let’s talk about the solutions that should work to fix the generic PnP monitor issue on your Windows computer.
1.1 Reconnecting the Monitor and Checking Cables
The most common issue with the Generic PnP monitor is that people often fail to connect it properly. Remember that it has two cables, one of which is a power cable and another one that goes into your PC or laptop.
Make sure you connected these cables well. If it’s a VGA cable, make sure the screws on both sides are aligned and screwed perfectly. If it’s an HDMI or DisplayPort cable, make sure it’s plugged in tightly. Sometimes, it can happen that your HDMI cable isn’t plugged all the way.
This can produce the Generic PnP monitor problem on Windows 10 or 11, yet, you can be completely unaware of it. Therefore, you need to be sure that the cables are connected properly. Alternatively, check your cables for potential damage.
Sometimes, a cable can be faulty, so try using another cable to see if it works. If everything fails, move on to the next step.
1.2 Update Windows to the Newest Version
If you’re rocking an old version of Windows, chances are that some of its features are missing, which can cause the Generic PnP monitor problem. Windows won’t always update automatically and in many cases, you have to check for updates manually.
Here’s how to do that:
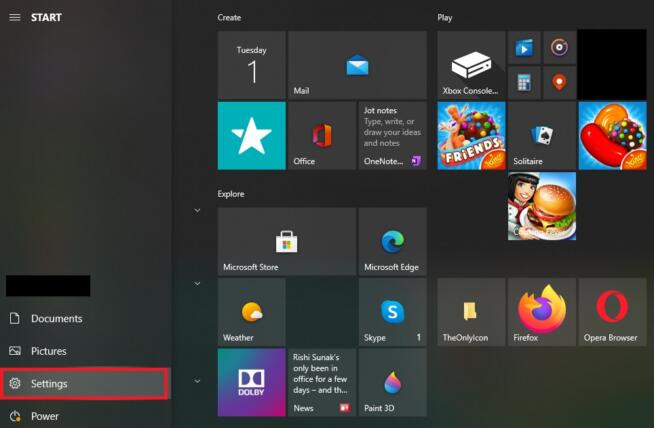
Click on the Windows button.
Open Settings.
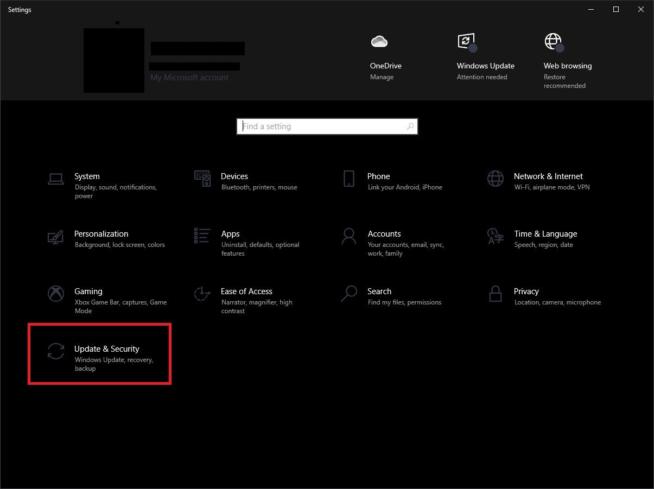
Click on “Update and Security.“
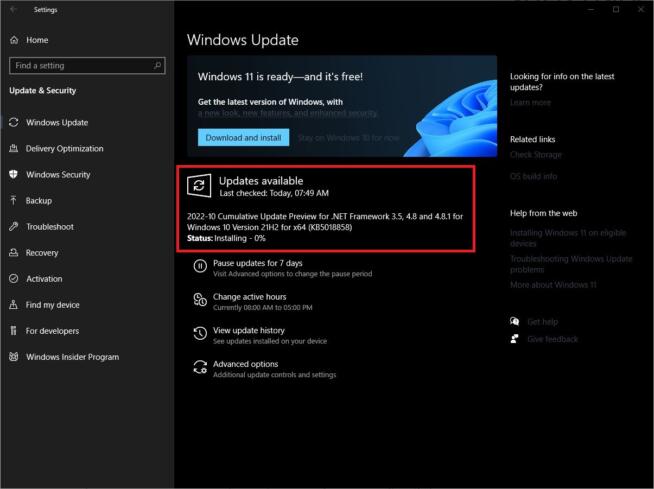
Click on “Check for updates.“
Windows will automatically detect and install the updates, so wait for a minute.
Restart your computer and see if the monitor works.
1.3 Update the Drive of Your Generic PnP Monitor
Pretty much every bit of hardware needs drivers to be recognized by your computer. Therefore, this Generic PnP monitor problem on Windows 10 and 11 might be fixed by updating your Generic PnP monitor drivers. Let’s see how to do that.
Right-click on the Windows button.
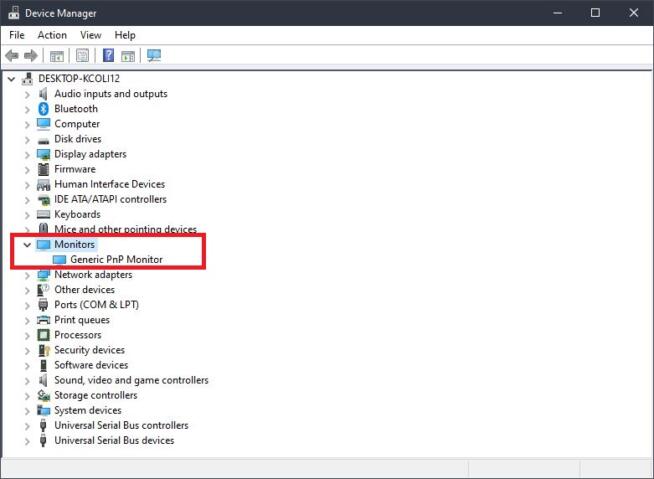
Select Device Manager and click on Monitors.
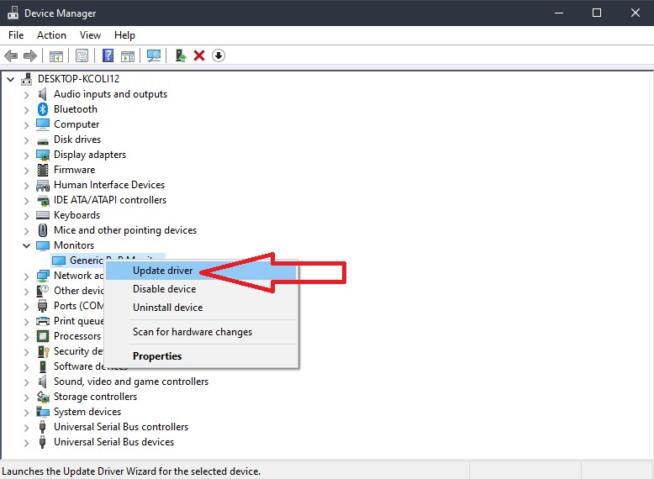
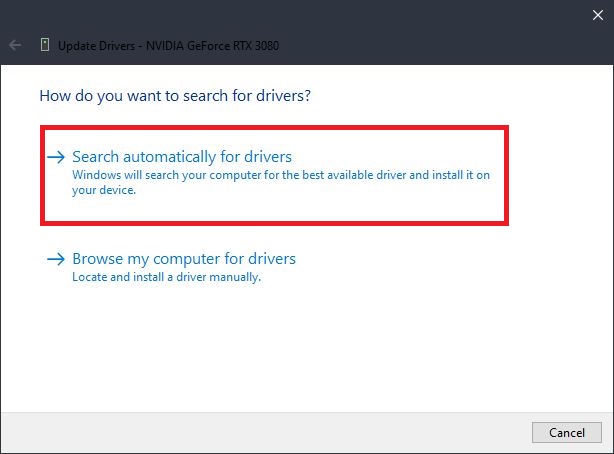
You will now see your Generic PnP monitor, so right-click on it and choose “Update driver.“
When the new window opens, select “Search automatically for drivers.“
If the new driver is found, Windows will let you install it automatically.
Once the installation is complete, restart your PC and see if the monitor starts working.
1.4 Update the Display Adapter Driver
Since we’re talking about connecting an external monitor, you need to have a discrete GPU that allows you to connect multiple monitors if you’re on a PC. Alternatively, if you’re using a laptop to do that, you’re most likely relying on your iGPU.
Either way, your graphics card might need a driver update that could fix the Generic PnP monitor issue on Windows 11 or 10. The steps to do that are below.
Right-click on the Windows button.
Choose Device Manager.
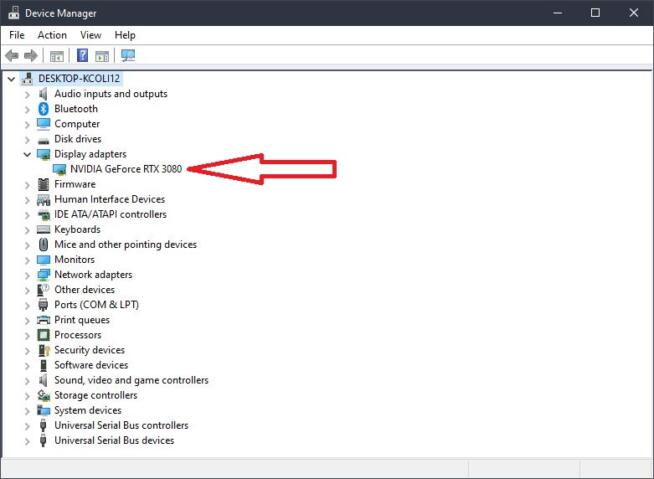
Click on “Display adapters“ and you’ll see the name of your display adapter i.e. graphics card.
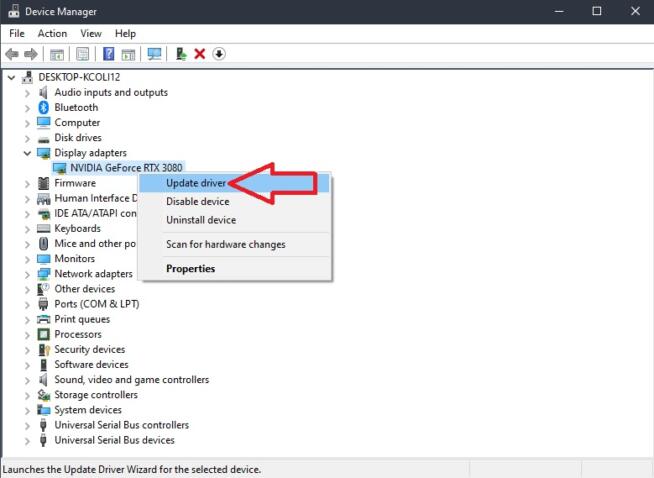
Right-click on your display adapter and choose “Update driver.“
Once again, select “Search automatically for drivers.“
If your drivers are outdated, Windows will install them for you automatically. Don’t worry if your screen flickers and returns to normal – that’s a sign that the graphics card driver is being installed.
When the process finishes, restart your PC and see if the solution is working.
1.4.1 Update Your GPU Driver from the Manufacturer’s Website
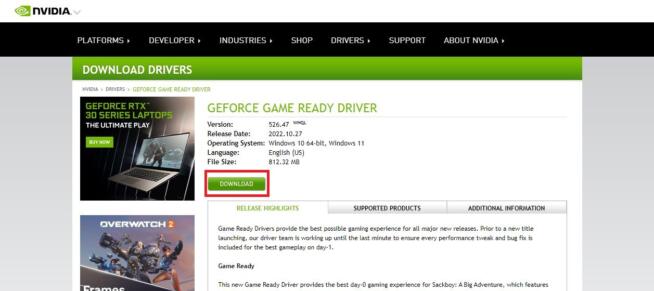
If your graphics card is recognized by Windows, yet, nothing’s changed after updating your display adapter driver, try updating to the latest version from the manufacturer’s site. If you’re using Nvidia, go to its site and download the latest drivers for your graphics card.
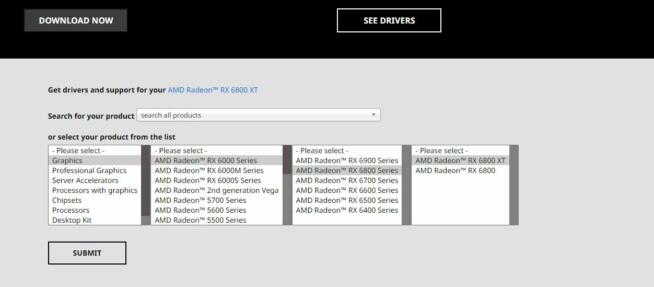
Conversely, users of AMD graphics cards should go to AMD’s website and download the latest drivers.
After that, restart your computer and see if the problem persists.
1.5 Roll Back the Display Adapter Driver
If updating the display adapter driver didn’t work for you and the Generic PnP monitor isn’t working on Windows 10 and 11, try rolling it back to one of the previous versions. This is super simple to do, so follow these steps to complete it.
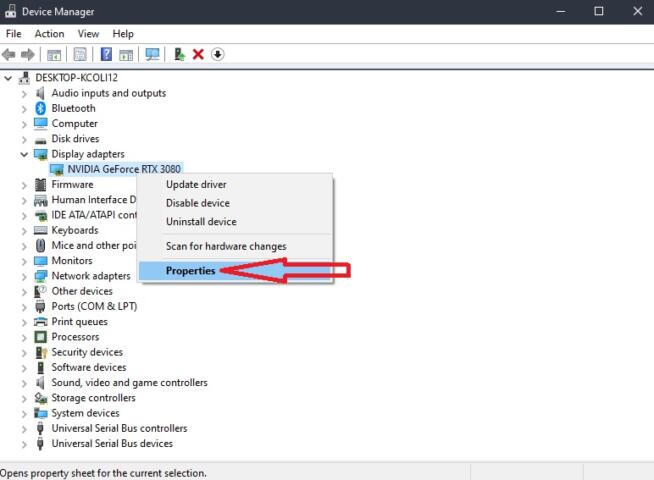
Go to Device Manager by right-clicking on the Windows button and choosing it from the menu.
Find your display adapter under “Display adapters.“
Right-click on it and select Properties.
Click on the Driver tab.
Select “Roll Back Driver“ (if the option is available).
Choose a reason for rolling back your drivers and click on Yes.
Once the driver is back to the previous version, restart your computer and see if your Generic PnP monitor starts working.
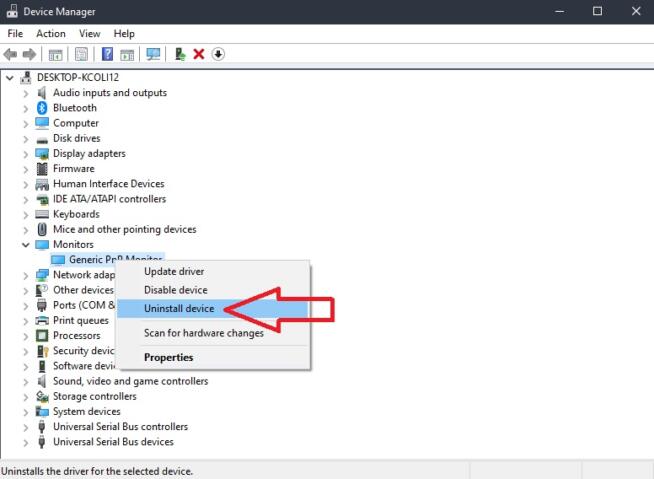
1.6 Uninstall Your Generic PnP Monitor & Scan for Hardware Changes
Did you fix the issue of the Generic PnP monitor not working on Windows 10 or 11? If not, try uninstalling your monitor and scanning for hardware changes. That might detect the monitor properly and allow you to use it. Here are the steps.
Got to Device Manager.
Right-click on your monitor and select “Uninstall device.“
Once that is complete, the monitor will be removed from the hardware list.
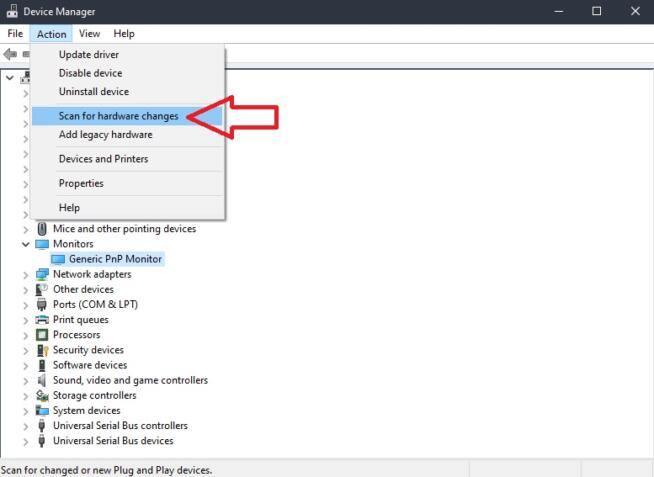
Next, click on Action in the top-left corner of the screen.
Click on “Scan for hardware changes.“
Windows should now detect your monitor, so restart your PC and see if it works.
1.7 Connect Your Generic PnP Monitor to Another PC
Finally, you can try connecting your Generic PnP monitor to another computer or laptop. If you have a friend or a family member who can borrow you his/her computer, try plugging the monitor into that computer and see if it works.
If it works, it means the monitor isn’t faulty and the problem lies somewhere in your computer, be it on a software or hardware level. If it isn’t working, it should mean that the monitor is faulty and you need to either buy a new one or replace it if it’s under warranty.
2. Summary
I hope this guide helped you fix the Generic PnP monitor problem on Windows 10 or 11. If none of the solutions helped you fix the problem, chances are that your monitor is faulty and it needs replacing.
Either way, if the article helped you, make sure you inform us in the comments section below and let other people know how and IF you fixed this issue.
Marcus is a cybersecurity analyst with a focus on VPN and proxy services. As the founder and driving force behind a prominent VPN and proxy website, Private Proxy Guide, Marcus has emerged as a trusted authority in the digital realm. With a passion for staying ahead of evolving cyber threats, he has played a pivotal role in educating and empowering individuals and businesses to safeguard their online presence.


")


