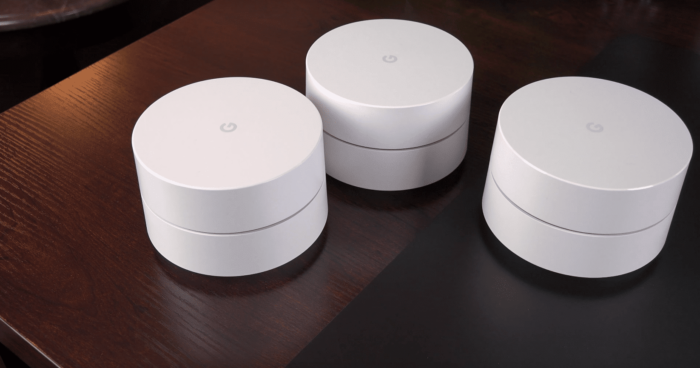
Google Wi-Fi and their updated Nest routers are one of the best and the easiest ways to run a home mesh network. No matter how big your house is and how many devices you use, you will have a smooth, stable network, strong signal, and high speed.
However, secure browsing and privacy are vital. To protect a home network, you can set up a VPN — it is one of the most effective solutions. VPN runs an encrypted connection and directs your traffic through its servers.
Besides using a VPN on each separate device, you can protect your entire home network by configuring a VPN connection on the router. How can you use this on your Google Nest system? Let’s see what you must do for that as it is not as simple as it sounds.
Does Google WiFi support VPN?
While Google Wi-Fi routers work smoothly and reliably, they do not have native VPN support — this is one of their biggest disadvantages. Also, you cannot manually configure PPTP and L2TP connections.
What about third-party firmware?
The majority of router brands allow manual VPN configuration or flashing them with third-party firmware, like DD-WRT or ASUSWRT-Merlin. You can find a lot of manuals for different models. If you are quite an experienced user, you will be able to flash your router without problems.
Unfortunately, custom firmware does not exist for Google Wi-Fi routers.
Does this mean that you will not be able to use a VPN on Google Nest and you should change the device? No, there is a solution.
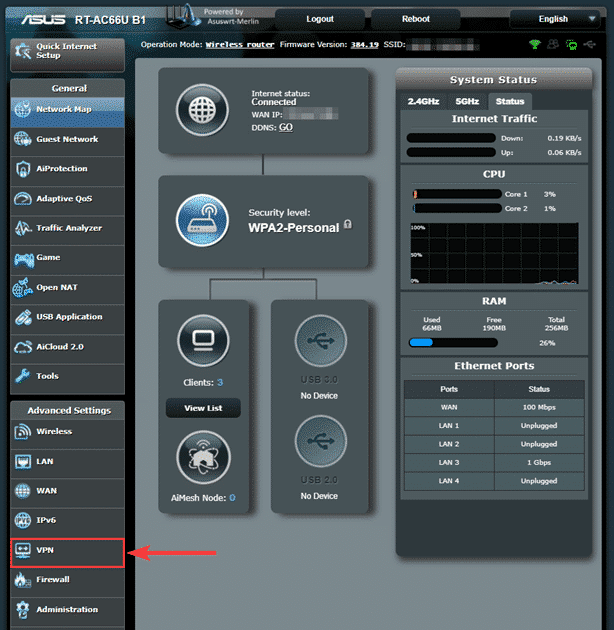
How to use a VPN on Google Wi-Fi
The only way to make it work is by using an additional router. You will join them in a parent-child relationship. You must put a VPN-enabled router in front of your Google Wi-Fi network, and the traffic from the Google Wi-Fi will be redirected through this router.
In this case, you will be able to use any VPN provider such as ExpressVPN, NordVPN, Private Internet Access, etc. Optionally, you can select the specific devices to connect to VPN or directly.
What are the pros and cons of using this solution?
Pros:
Protects all your connected devices. Why is that so important? Don’t forget that not all devices can be connected to VPN directly. The list of such devices includes smart TVs, fridges, doorbells, washers, smart speakers, and other favorite home gadgets. Using a VPN on the router will let you protect them by using the regular Wi-Fi connection.
Stable coverage and uninterrupted connection. Years ago, you had to dial up the Internet to use it — in most cases, it was impossible to keep your status online continuously. Today, you do not think of it as you are always connected. The same is true about VPNs. Instead of a manual connection every time you connect to the Internet, use a VPN on your Google Wi-Fi router for non-stop protection.
Free up available device connections. Every VPN provider allows a limited number of connected devices, usually, between 3 to 10. So, if you have a lot of gadgets, you will quickly reach your limit. If you set up a VPN on your router, you will protect all your devices using just one available connection in one location. It will let you use your VPN on other devices when you are not at home.
Cons:
Some types of incoming connections can be unavailable. Most VPNs don’t block certain protocols or connection types. However, in some cases, it can be an issue. Before setting up a VPN, make sure you read their terms of use.
Local traffic is not protected. If your Wi-Fi configuration allows open connections and someone else can connect to your home network, they will be able to reach your unprotected devices and cause potential damage. So, make sure you disabled this feature.
Changing settings is not so easy. Although the apps for smartphones and computers allow to flexibly configure the connection, it is not so easy on routers. For example, to change a server, you will have to enter its parameters manually. Very few VPNs allow flexible settings on routers.
Configuring a VPN on Google Wi-Fi or Google Nest
Step 1. Preparation.
You will need:
Google Wi-Fi or Google Nest router.
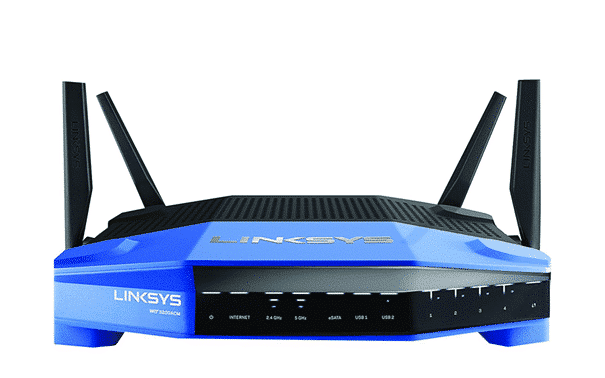
Router with VPN support. Most Asus, Linksys, Netgear, TP-Link, or Xiaomi routers natively support VPN. Moreover, many VPN providers offer preconfigured routers. Read the user manual or contact the VPN provider support.
An Ethernet cable to connect two routers.
A VPN subscription. We recommend ExpressVPN, NordVPN, or Private Internet Access.
Step 2. Connect two routers.
In this section, we will only connect two routers without configuring a VPN. We must make sure that the pair works properly and doesn’t block any traffic. Here is what you should do.
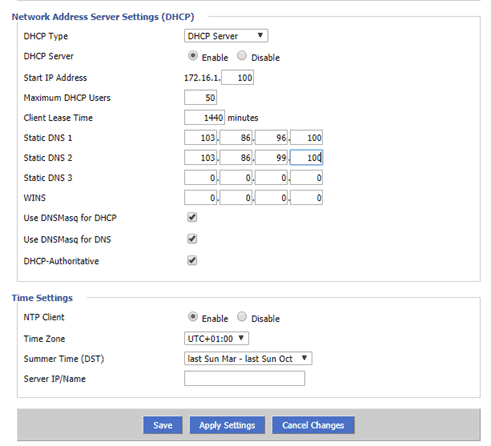
Change the subnet on the Google Wi-Fi router
This is necessary to make sure that the subnets for each router do not overlap. As most brands, just like Google, automatically assign local IP addresses in the range of 192.168.1.xxx, we must make them different. Let’s say we change Google’s subnet to 192.168.2.xxx.
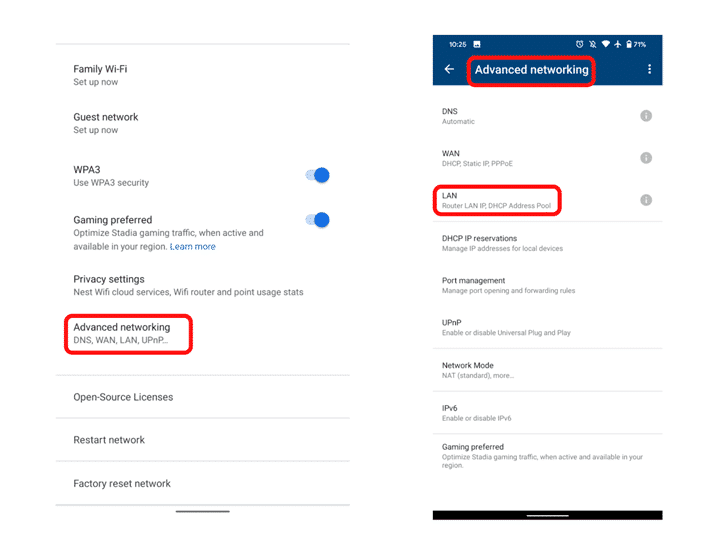
For that, you will need the Google Home app. It is available both on Android and iOS.
Go to Wi-Fi > Settings > Advanced Networking.
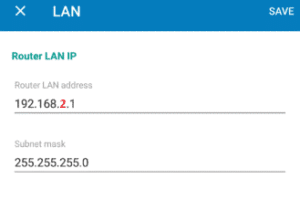
In this section, go to LAN.
Next, change the Router LAN address field to 192.168.2.1.
Click Save.
Make sure the DHCP is activated as it lets the router allot the unique IP addresses to other devices.
Do the same on the first router. However, make sure its subnet is something like 192.168.1.1. Read the user manual on how to change the connection parameters.
Join two routers together
Now, it’s time to connect both routers using an Ethernet cable. Plug one end of the cable into the LAN port of the VPN-enabled router, and the second one into the WAN port of your Google Wi-Fi router.
Your VPN-enabled router must be connected to the Internet. Make sure your fiber, ADSL modem, or other source is plugged into the WAN port.
Test your connection
After you connected your two routers, it is time to check your connection. Just connect to your Google Wi-Fi network and make sure that your connection is active. Open some popular websites to check how everything works. You can also open one of the IP location services to see the information about your current IP.
If your mesh system behind your primary router works fine, it’s time to configure a VPN on it.
Step 3. Configure the VPN-enabled router
When you use a pre-configured router from your VPN provider, just turn on the VPN and select the server. If not, do the following steps to apply the necessary configuration.
Flash your primary router with VPN-supported firmware (if required)
If you are using a pre-configured router from a VPN provider, you can just skip this step. These routers are already flashed with VPN-supported firmware.
Also, some routers such as Asus, Synology, Netgear, Linksys, TP-Link, Mikrotik, Xiaomi gadgets have native VPN support. However, this depends on each model and can depend on the VPN provider. Read the user manual and contact your provider or manufacturer for more details.
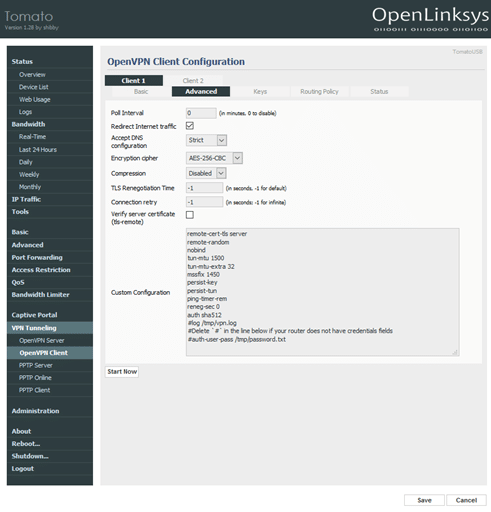
But what if you are using a device without native VPN support? In this case, you will have to install one of the available custom firmware, for example, DD-WRT, Tomato, Padavan, OpenWRT, Merlin, Gl.iNET, NetDUMA, OPNsense, Portal, Sabai, pfSense, DrayTek, EdgeRouter, etc.
It is impossible to list all the available instructions here. You can find the detailed guide for your router on the firmware support page. Follow it to flash your device.
Configure the VPN connection
Once your router is flashed and works properly, you have to apply the VPN configuration. The steps are not the same for each service. So, go to the support page of your VPN provider to look for available guides for your router. Most companies provide detailed instructions for most available devices and firmware.
Here, you can find guides for the most popular services and firmware:
When you set everything up, it’s time to see how it works. Make sure you’re connected to your Google Wi-Fi network.
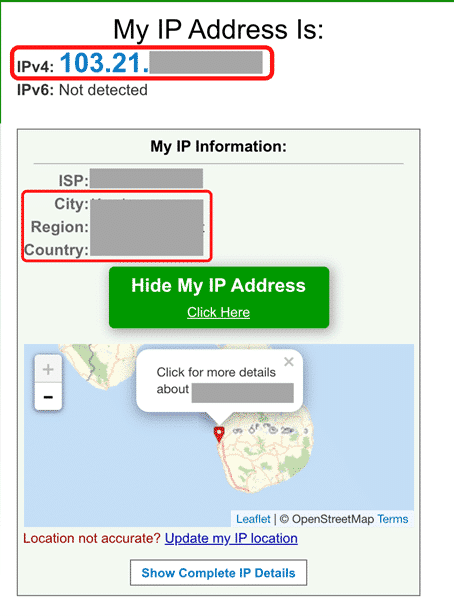
First, disable the VPN and open any website to check whether your connection works. Next, you can open the WhatIsMyIPAddress website to check your current IP address. It must display the IP of your Internet service provider and your current location.
After that, enable the VPN, select the server, and open any website. Again, open the WhatIsMyIPAddress website to check whether your IP address changed. If you did everything correctly, it would display your new IP address and location.
Repeat the procedure on all your connected devices. Does everything work well? Congratulations, you successfully configured the VPN on your Google Wi-Fi or Google Nest router.
Frequently Asked Questions
Can you configure a VPN directly on a Google Nest or Google Wi-Fi router?
No, that’s impossible. Google firmware does not support VPNs. Also, it does not allow any third-party VPN-capable firmware like DD-WRT or Tomato.
How can you still use a VPN with Google Wi-Fi?
The only possible solution is to run the Google network behind a VPN-enabled router. Set up a VPN connection there and connect the Google Wi-Fi to this router. Contact your VPN provider to find out which routers they support.
What is the best VPN to use with Google Wi-Fi?
We recommend selecting a reputable, secure VPN provider with extensive server infrastructure and fast speeds to use as much of your bandwidth as possible. On our website, you can find detailed reviews that will help you to make the right decision.
For example, ExpressVPN, NordVPN, Private Internet Access, Cyberghost, and IPVanish are secure, do not sell your sensitive data, have a lot of servers in different countries, and are available on many devices including popular router firmware.
All of them provide detailed guides for every device and have a money-back guarantee. So, if you don’t like how it works, you can easily get your money back.
Can you select which devices will use a VPN?
As your devices are connected to Google Wi-Fi which works behind a VPN-supported router, the traffic from all devices will run through the VPN.
If you want to use another VPN on specific devices, run a second Wi-Fi network on the VPN router. There, you can set up a specific connection type for each device.
Conclusion
While Google Wi-Fi and Google Nest routers are a great solution for a home mesh network, they do not have native VPN support. Also, you cannot flash them with custom firmware.
However, you can use a second VPN-enabled router. Just connect two routers and run a Google Wi-Fi behind the first router. This is a quite simple and reliable solution. Contact your VPN provider on how to make necessary settings.
Are you not an experienced user? Then, use a VPN directly on your devices.
Marcus is a cybersecurity analyst with a focus on VPN and proxy services. As the founder and driving force behind a prominent VPN and proxy website, Private Proxy Guide, Marcus has emerged as a trusted authority in the digital realm. With a passion for staying ahead of evolving cyber threats, he has played a pivotal role in educating and empowering individuals and businesses to safeguard their online presence.
2 thoughts on “How to Use a VPN with Google WiFi or Google Nest Routers”
Carol
If you do this does the google nest work as a mesh router or as an extender?
Hi,
I have a ISP modem connected to my google wifi, this configuration it’s working fine but I want to have a VPN, so I bought a router Asus AX86U
Is this the right set up I should do?
1.Disconnect google wifi from ISP modem
2.Connect VPN Asus router to modem and configure the VPN
3.Connect google wifi to the Asus VPN modem
How can I do If I want to connect some devices to the network without using the VPN?
Do you have any guide for connecting Google router to my modem as I have it and the ASUS to Google Mesh’s LAN port.? I think this way I can switch between networks